For TJ and JK Jeeps
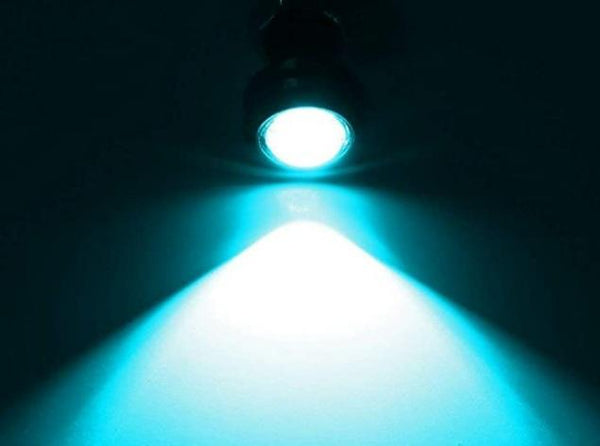
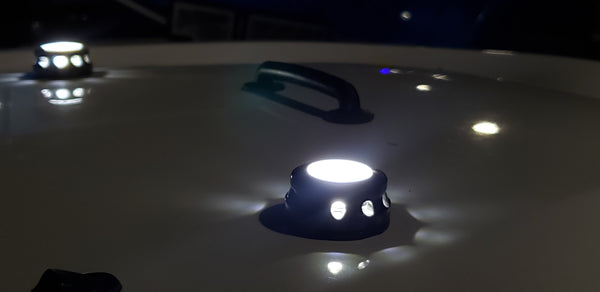
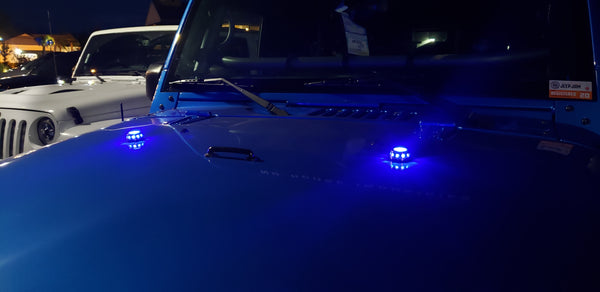
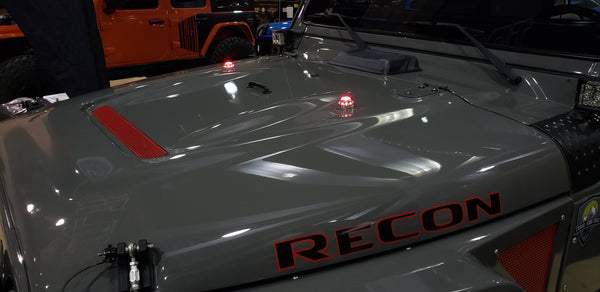
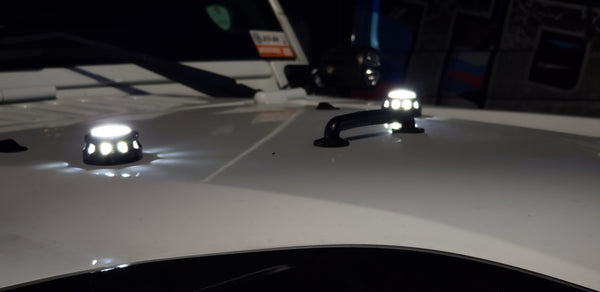
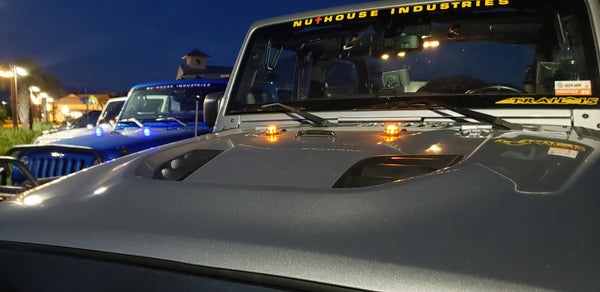
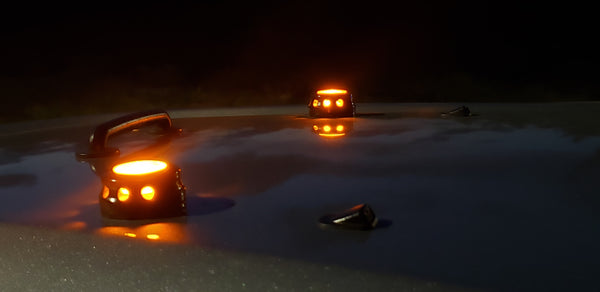
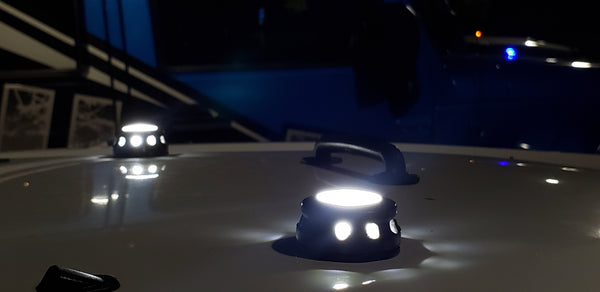
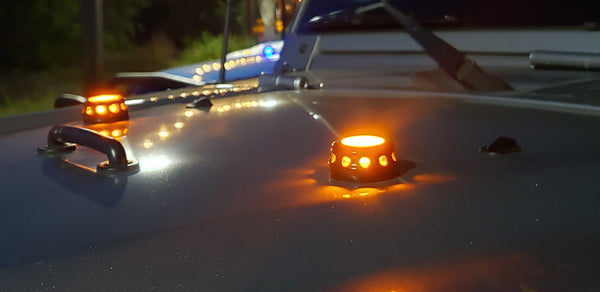
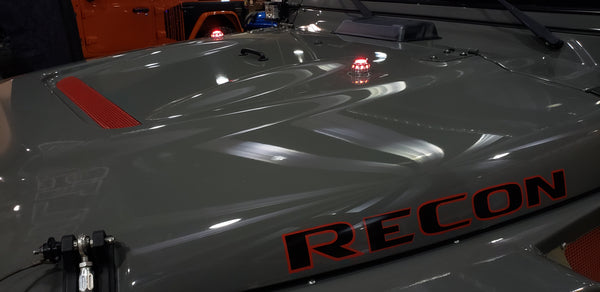
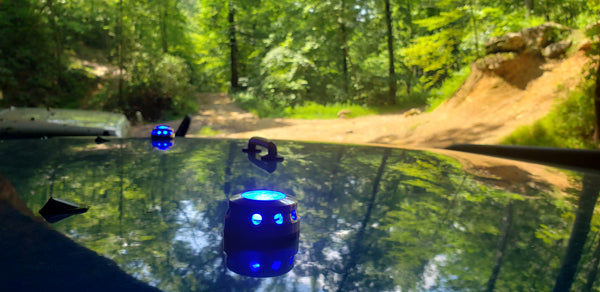
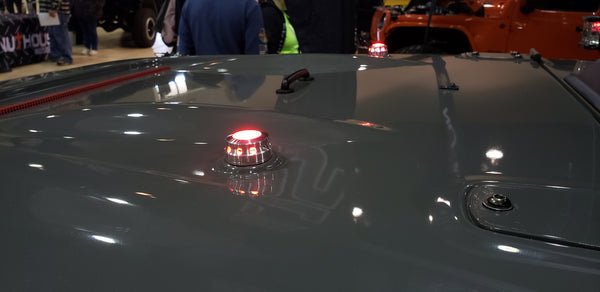
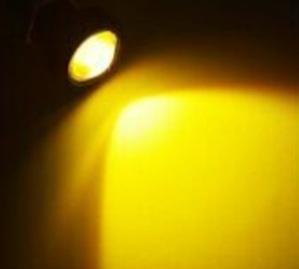
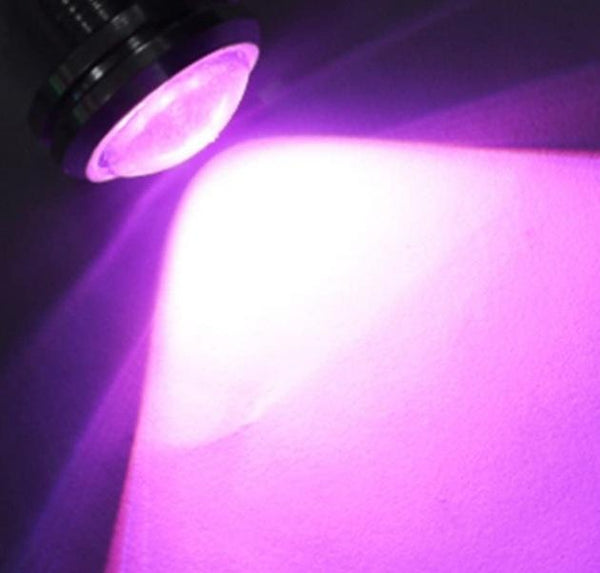
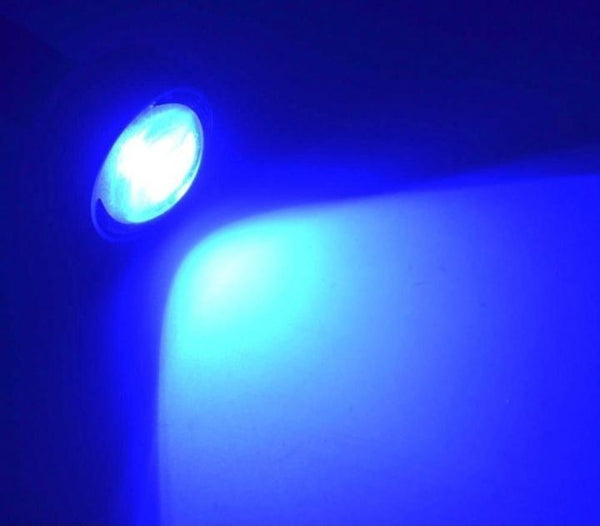
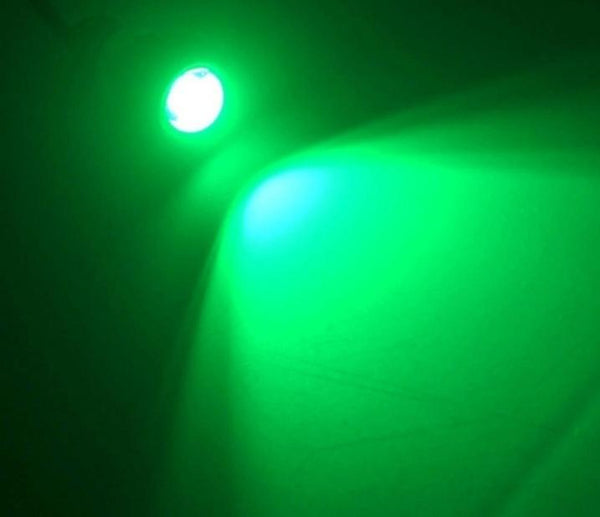
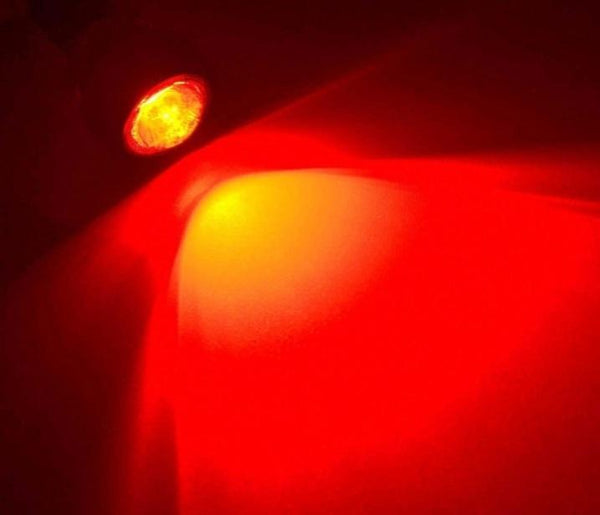
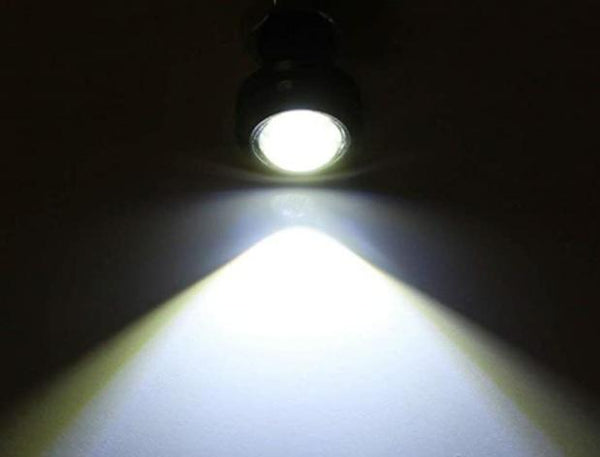
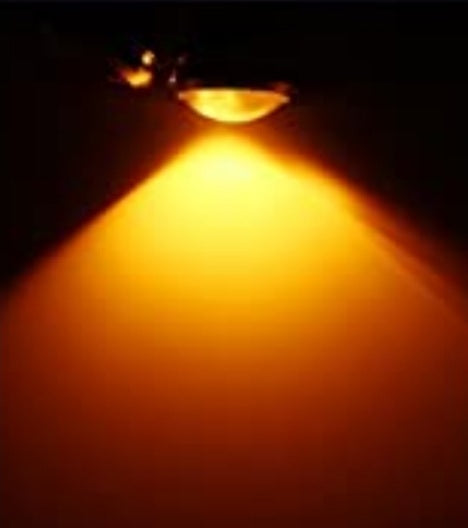
Replace your factory rubber hood bumpers on your Jeep Wrangler with Trail 15's CNC machined aluminum light up hood bumpers. Not only will they look great in the day but even better at night! The hood bumper lights come as a pair with your choice of led color options. Choose from red, blue, green, pink, purple, yellow, amber or white. We made it so glare in the windshield will be minimal by keeping the backside blacked out.
Installation Instructions - Carefully remove the factory rubber bumper. Unscrew the nut from the light and unscrew the base from the machined top piece. Place the wire and threaded end of the light through the hole of the base piece. Next, place the wire and threaded end of the light through the hole of the hood where the factory hood bumper was. On the underside of the hood, thread the nut through the wires and loosely thread the nut onto the bolt. Add anti seize to the threads of the base. Screw the machined top piece to the base making sure the blacked out side is toward the windshield. Finally carefully tighten the nut down on the bolt light. Be careful not to overtighten or it could cause the light to break.
*for show and off-road use only. Sorry we cannot mix colors. They are designed for DC voltage only. Comes as a pair. Modification of the underside of the 10A hood may be necessary to tighten the nut down. AEV and DV8 hoods will require drilling for mounting.